Deploying Openshift Virtualization on ROSA with NetApp FSx storage.
This content is authored by Red Hat experts, but has not yet been tested on every supported configuration.
OpenShift Virtualization is a feature of OpenShift that allows you to run virtual machines alongside your containers. This is useful for running legacy applications that can’t be containerized, or for running applications that require special hardware or software that isn’t available in a container.
In this tutorial, I’ll show you how to deploy OpenShift Virtualization on Red Hat OpenShift on AWS (ROSA) using the AWS NetApp FSx service (specifically NFS, not ISCSI or SAN) to provide resilience and live migration. I’ll show you how to create a ROSA cluster, deploy the OpenShift Virtualization operator, deploy the NetApp Trident Operator and create a virtual machine.
If you’re planning to deploy OpenShift Virtualization in a production environment, you should follow the official documentation and best practices.
Pre-requisites
- A ROSA Cluster (see Deploying ROSA HCP with Terraform )
- An AWS account with permissions to create FSx for ONTAP
- The
gitbinary installed on your machine. You can download it from the git website . - The
virtctlbinary installed on your machine. You can follow installation instructions on the OpenShift website .
Note: This guide re-uses environment variables from the Deploying ROSA HCP with Terraform guide. If you have an existing cluster, you’ll need to set them appropriately for the cluster.
Prepare the Environment
Run this these commands to set some environment variables to use throughout (Terraform commands need to be run in the directory you ran Terraform)
export CLUSTER=${TF_VAR_cluster_name}
export FSX_REGION=$(rosa describe cluster -c ${CLUSTER} -o json | jq -r '.region.id')
export FSX_NAME="${CLUSTER}-FSXONTAP"
export FSX_SUBNET1="$(terraform output -json private_subnet_ids | jq -r '.[0]')"
export FSX_SUBNET2="$(terraform output -json private_subnet_ids | jq -r '.[1]')"
export FSX_VPC="$(terraform output -raw vpc_id)"
export FSX_VPC_CIDR="$(terraform output -raw vpc_cidr)"
export FSX_ROUTE_TABLES="$(terraform output -json private_route_table_ids | jq -r '. | join(",")')"
export FSX_ADMIN_PASS=$(LC_ALL=C tr -dc A-Za-z0-9 </dev/urandom | head -c 16; echo)
export SVM_ADMIN_PASS=$(LC_ALL=C tr -dc A-Za-z0-9 </dev/urandom | head -c 16; echo)
export METAL_AZ=$(terraform output -json private_subnet_azs | jq -r '.[0]')
Create a bare metal machine pool
Note bare metal machines are not cheap, so be warned!
 rosa create machine-pool -c $CLUSTER \
   --replicas 2 --availability-zone $METAL_AZ \
   --instance-type m5zn.metal --name virt
Provision FSx for ONTAP
Change to a directory to clone the FSx for ONTAP CloudFormation template
mkdir -p ~/rosa-fsx-ontap
cd ~/rosa-fsx-ontap
git clone https://github.com/aws-samples/rosa-fsx-netapp-ontap.git
cd rosa-fsx-netapp-ontap/fsx
Create the CloudFormation Stack
Note: As of this writing, you may need to open the
./FSxONTAP.yamlfile and edit theTridentIAMPolicyname if there are multiple Cloudformation Stack instances deployed, because this stack attempts to create an IAM policy with a hard-coded name and duplicate policy names are not allowed via the AWS API. The conflict is in the YAML file around line299and looks as follows:ManagedPolicyName: 'TridentIAMPolicy'. Until this is corrected in the upstream Git repo, the Cloudformation Stack cannot be run multiple times.
```bash
aws cloudformation create-stack \
  --stack-name "${CLUSTER}-FSXONTAP" \
  --template-body file://./FSxONTAP.yaml \
  --region "${FSX_REGION}" \
  --parameters \
  ParameterKey=Subnet1ID,ParameterValue=${FSX_SUBNET1} \
  ParameterKey=Subnet2ID,ParameterValue=${FSX_SUBNET2} \
  ParameterKey=myVpc,ParameterValue=${FSX_VPC} \
  ParameterKey=FSxONTAPRouteTable,ParameterValue=\"$FSX_ROUTE_TABLES\" \
  ParameterKey=FileSystemName,ParameterValue=ROSA-myFSxONTAP \
  ParameterKey=ThroughputCapacity,ParameterValue=512 \
  ParameterKey=FSxAllowedCIDR,ParameterValue=${FSX_VPC_CIDR} \
  ParameterKey=FsxAdminPassword,ParameterValue=\"${FSX_ADMIN_PASS}\" \
  ParameterKey=SvmAdminPassword,ParameterValue=\"${SVM_ADMIN_PASS}\" \
  --capabilities CAPABILITY_NAMED_IAM
```

This can take some time, so we can go ahead and deploy the OpenShift Virtualization Operator while we wait.
Deploy the OpenShift Virtualization Operator
Deploy the OpenShift Virtualization Operator
cat << EOF | oc apply -f -
apiVersion: v1
kind: Namespace
metadata:
  name: openshift-cnv
---
apiVersion: operators.coreos.com/v1
kind: OperatorGroup
metadata:
  name: kubevirt-hyperconverged-group
  namespace: openshift-cnv
spec:
  targetNamespaces:
    - openshift-cnv
---
apiVersion: operators.coreos.com/v1alpha1
kind: Subscription
metadata:
  name: hco-operatorhub
  namespace: openshift-cnv
spec:
  source: redhat-operators
  sourceNamespace: openshift-marketplace
  name: kubevirt-hyperconverged
  startingCSV: kubevirt-hyperconverged-operator.v4.15.1
  channel: "stable"
EOF
If you want to see the progress of the operator you can log into the OpenShift Console (hint run
oc whoami --show-consoleto get the URL)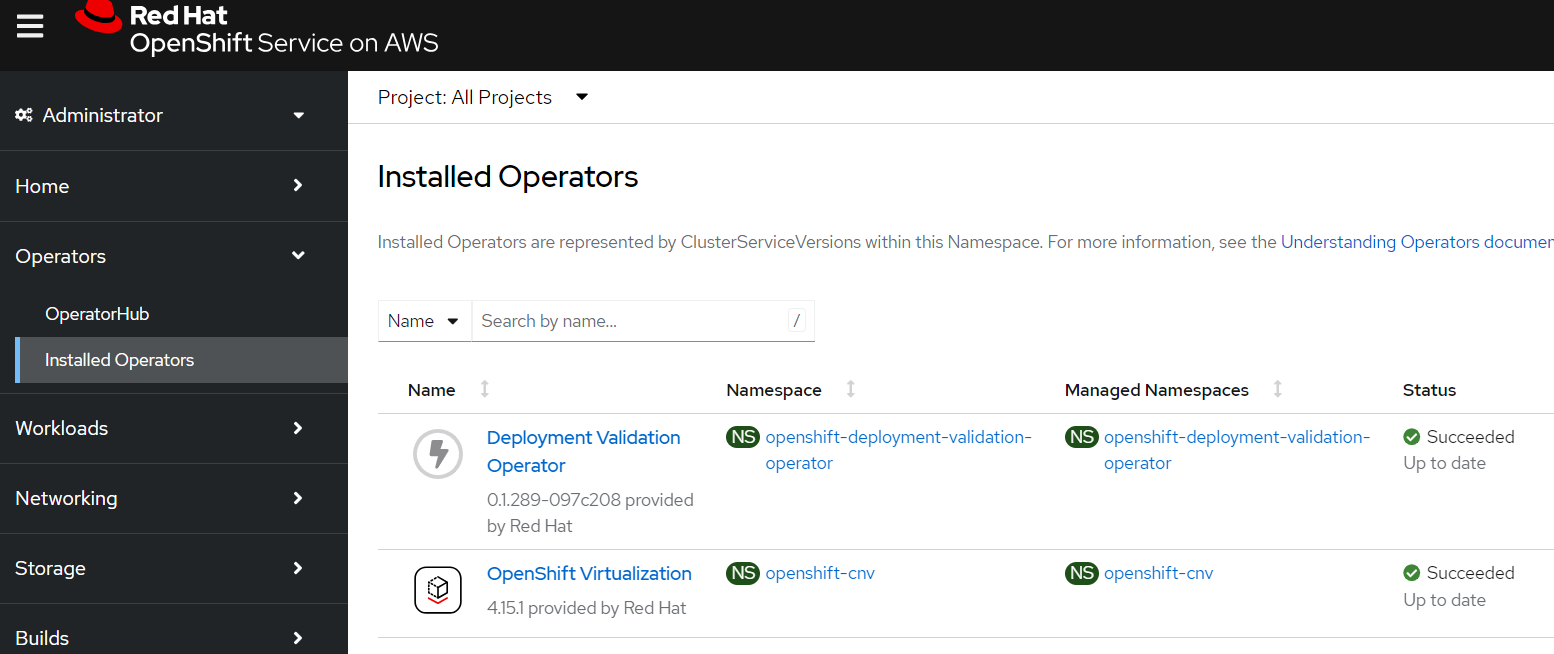
Create an OpenShift Virtualization operand
Note: this is all defaults, so will not support a lot of the more advanced features you might want such as live migration.
cat << EOF | oc apply -f -
apiVersion: hco.kubevirt.io/v1beta1
kind: HyperConverged
metadata:
  name: kubevirt-hyperconverged
  namespace: openshift-cnv
  annotations:
    deployOVS: "false"
  labels:
    app: kubevirt-hyperconverged
spec:
  applicationAwareConfig:
    allowApplicationAwareClusterResourceQuota: false
    vmiCalcConfigName: DedicatedVirtualResources
  certConfig:
    ca:
      duration: 48h0m0s
      renewBefore: 24h0m0s
    server:
      duration: 24h0m0s
      renewBefore: 12h0m0s
  evictionStrategy: LiveMigrate
  featureGates:
    alignCPUs: false
    autoResourceLimits: false
    deployKubeSecondaryDNS: false
    deployTektonTaskResources: false
    deployVmConsoleProxy: false
    disableMDevConfiguration: false
    enableApplicationAwareQuota: false
    enableCommonBootImageImport: true
    enableManagedTenantQuota: false
    nonRoot: true
    persistentReservation: false
    withHostPassthroughCPU: false
  infra: {}
  liveMigrationConfig:
    allowAutoConverge: false
    allowPostCopy: false
    completionTimeoutPerGiB: 800
    parallelMigrationsPerCluster: 5
    parallelOutboundMigrationsPerNode: 2
    progressTimeout: 150
  resourceRequirements:
    vmiCPUAllocationRatio: 10
  uninstallStrategy: BlockUninstallIfWorkloadsExist
  virtualMachineOptions:
    disableFreePageReporting: false
    disableSerialConsoleLog: true
  workloadUpdateStrategy:
    batchEvictionInterval: 1m0s
    batchEvictionSize: 10
    workloadUpdateMethods:
    - LiveMigrate
  workloads: {}
EOF
New “Virtualization” Section in the OpenShift Console
Once the operator is installed you should see a new “Virtualization” section in the OpenShift Console (you may be prompted to refresh the page)
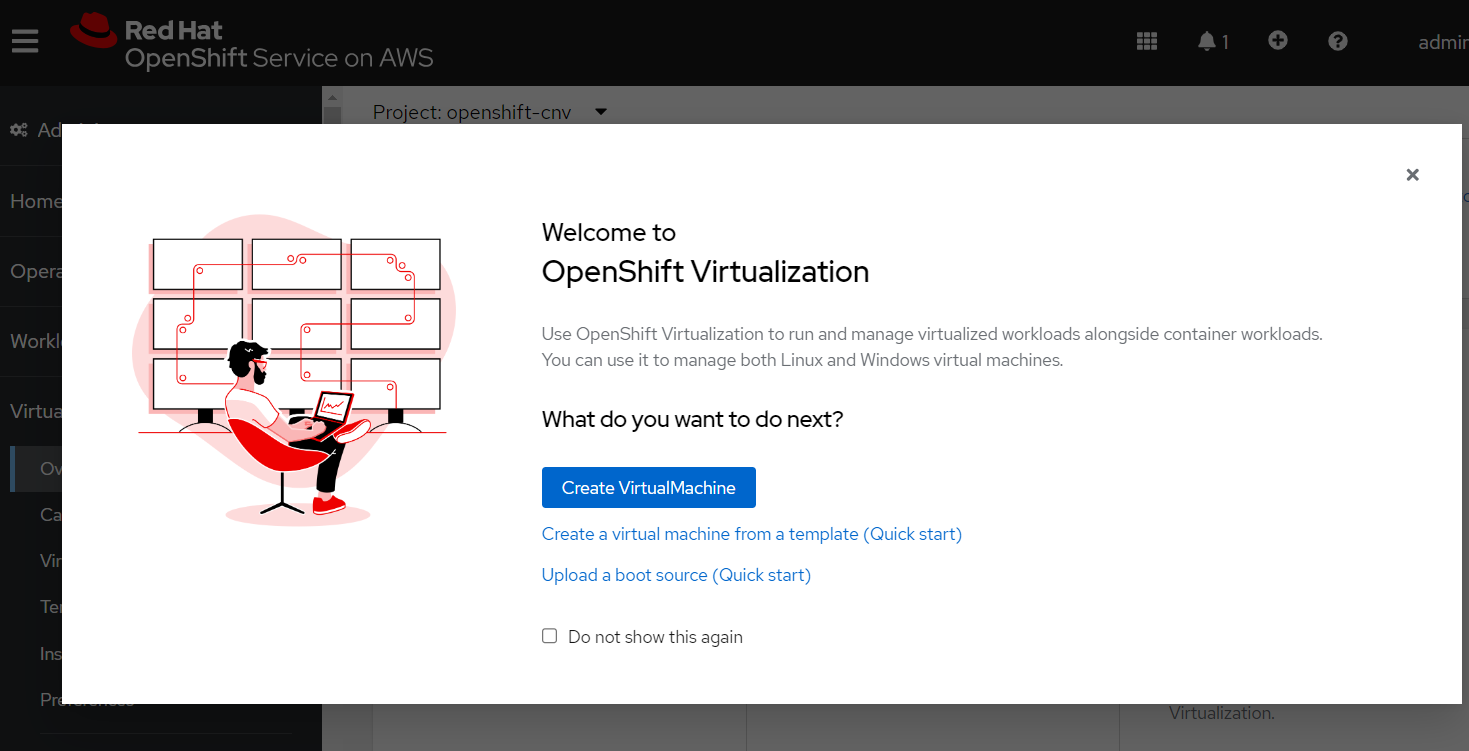
Close the popup window and click the “Download virtctl” button to download the
virtctlbinary.
Install and Configure the Trident CSI driver
Verify the cloudformation stack is complete
aws cloudformation wait stack-create-complete --stack-name "${CLUSTER}-FSXONTAP" --region "${FSX_REGION}"Get the FSx ONTAP filesystem id
FSX_ID=$(aws cloudformation describe-stacks \
  --stack-name "${CLUSTER}-FSXONTAP" \
  --region "${FSX_REGION}" --query \
  'Stacks[0].Outputs[?OutputKey==`FSxFileSystemID`].OutputValue' \
  --output text)
Get the FSx Management and NFS LIFs
FSX_MGMT=$(aws fsx describe-storage-virtual-machines \
  --region us-east-1 --output text \
  --query "StorageVirtualMachines[?FileSystemId=='$FSX_ID'].Endpoints.Management.DNSName")

FSX_NFS=$(aws fsx describe-storage-virtual-machines \
  --region us-east-1 --output text \
  --query "StorageVirtualMachines[?FileSystemId=='$FSX_ID'].Endpoints.Nfs.DNSName")
Add the NetApp Helm Repository
helm repo add netapp https://netapp.github.io/trident-helm-chart
helm repo update
Install the Trident CSI driver
helm install trident-csi netapp/trident-operator \
  --create-namespace --namespace trident
Make sure the trident pods are running
oc get pods -n tridentNAME READY STATUS RESTARTS AGE trident-controller-598db8d797-2rrdw 6/6 Running 0 11m trident-node-linux-2hzlq 2/2 Running 0 11m trident-node-linux-7vhpz 2/2 Running 0 11m trident-operator-67d6fd899b-6xrwk 1/1 Running 0 11mCreate a secret containing the SVM credentials
oc create secret generic backend-fsx-ontap-nas-secret \
  --namespace trident \
  --from-literal=username=vsadmin \
  --from-literal=password="${SVM_ADMIN_PASS}"
Create a BackendConfig for the FSx ONTAP
cat << EOF | oc apply -f -
apiVersion: trident.netapp.io/v1
kind: TridentBackendConfig
metadata:
  name: backend-fsx-ontap-nas
  namespace: trident
spec:
  version: 1
  backendName: fsx-ontap
  storageDriverName: ontap-nas
  managementLIF: $FSX_MGMT
  dataLIF: $FSX_NFS
  svm: SVM1
  credentials:
    name: backend-fsx-ontap-nas-secret
EOF
cat << EOF | oc apply -f - apiVersion: storage.k8s.io/v1 kind: StorageClass metadata: name: trident-csi provisioner: csi.trident.netapp.io parameters: backendType: "ontap-nas" fsType: "ext4" allowVolumeExpansion: True reclaimPolicy: Retain EOF
Create a Virtual Machine
Create a project and a secret containing your public SSH key
oc new-project my-vms
oc create secret generic authorized-keys --from-file=ssh-publickey=$HOME/.ssh/id_rsa.pub
Create a VM
cat << EOF | oc apply -f -
apiVersion: kubevirt.io/v1
kind: VirtualMachine
metadata:
  name: my-first-fedora-vm
  labels:
    app: my-first-fedora-vm
spec:
  dataVolumeTemplates:
    - metadata:
        name: my-first-fedora-vm
      spec:
        preallocation: false
        sourceRef:
          kind: DataSource
          name: fedora
          namespace: openshift-virtualization-os-images
        storage:
          resources:
            requests:
              storage: 30Gi
          storageClassName: trident-csi
  running: true
  template:
    metadata:
      annotations:
        vm.kubevirt.io/flavor: small
        vm.kubevirt.io/os: fedora
        vm.kubevirt.io/workload: server
      labels:
        kubevirt.io/domain: my-first-fedora-vm
        kubevirt.io/size: small
    spec:
      accessCredentials:
        - sshPublicKey:
            propagationMethod:
              noCloud: {}
            source:
              secret:
                secretName: authorized-keys
      architecture: amd64
      domain:
        cpu:
          cores: 1
          sockets: 1
          threads: 1
        devices:
          disks:
            - bootOrder: 1
              disk:
                bus: virtio
              name: rootdisk
            - bootOrder: 2
              disk:
                bus: virtio
              name: cloudinitdisk
          interfaces:
            - masquerade: {}
              model: virtio
              name: default
          networkInterfaceMultiqueue: true
        machine:
          type: pc-q35-rhel9.2.0
        memory:
          guest: 2Gi
      networks:
        - name: default
          pod: {}
      volumes:
        - dataVolume:
            name: my-first-fedora-vm
          name: rootdisk
        - cloudInitNoCloud:
            userData: |-
              #cloud-config
              user: fedora
              password: xtg8-ly36-swy3
              chpasswd: { expire: False }
          name: cloudinitdisk
EOF
Watch for the VM to be ready
watch oc get virtualmachine my-first-fedora-vmEvery 2.0s: oc get vm NAME AGE STATUS READY my-first-fedora-vm 3m16s Running FalseSSH into the VM
Note: Be sure you have a compatible
virtctlbinary otherwise this command may fail if you installed an incompatible version (e.g.brew install virtctl). Proper installation instructions will always be located in the OpenShift documentation ( https://docs.openshift.com/container-platform/4.15/virt/getting_started/virt-using-the-cli-tools.html) .
```bash
virtctl ssh fedora@my-first-fedora-vm -i ~/.ssh/id_rsa
```

```output
Last login: Wed May 22 19:47:45 2024 from 10.128.2.10
[fedora@my-first-fedora-vm ~]$ whoami
fedora
[fedora@my-first-fedora-vm ~]$ exit
logout
```
Check what node the VM is deployed on
oc get pod -l "kubevirt.io/domain=my-first-fedora-vm" -o jsonpath="{.items[0].metadata.labels.kubevirt\.io/nodeName}"ip-10-10-13-196.ec2.internalLive migrate the VM
virtctl migrate my-first-fedora-vmWait a moment, and check the node again
oc get pod -l "kubevirt.io/domain=my-first-fedora-vm" -o jsonpath="{.items[0].metadata.labels.kubevirt\.io/nodeName}"ip-10-10-5-148.ec2.internal
Congratulations! You now have a virtual machine running on OpenShift Virtualization on ROSA, and you’ve successfully live migrated it between hosts.
Cleanup
Delete the VM
oc delete vm my-first-fedora-vm
oc delete project my-vms
Uninstall the Trident CSI driver
oc delete sc trident-csi
oc -n trident delete TridentBackendConfig backend-fsx-ontap-nas
helm uninstall trident-csi -n trident
Delete the FSx Storage Volumes (except for “SVM1_root” volume)
FSX_VOLUME_IDS=$(aws fsx describe-volumes --region $FSX_REGION --output text --query "Volumes[?FileSystemId=='$FSX_ID' && Name!='SVM1_root'].VolumeId")
for FSX_VOLUME_ID in $FSX_VOLUME_IDS; do
  aws fsx delete-volume --volume-id $FSX_VOLUME_ID --region $FSX_REGION
done
Wait until the volumes are deleted
watch "aws fsx describe-volumes --region $FSX_REGION \
  --output text --query \"Volumes[?FileSystemId=='$FSX_ID' \
  && Name!='SVM1_root'].Name\""
Delete the FSx for ONTAP stack
aws cloudformation delete-stack --stack-name "${CLUSTER}-FSXONTAP" --region "${FSX_REGION}"Wait for the stack to be deleted
aws cloudformation wait stack-delete-complete --stack-name "${CLUSTER}-FSXONTAP" --region "${FSX_REGION}"Delete the ROSA HCP Cluster
If you used the Terraform from the Deploying ROSA HCP with Terraform guide, you can run the following command to delete the cluster from inside the terraform repository:
terraform destroy